
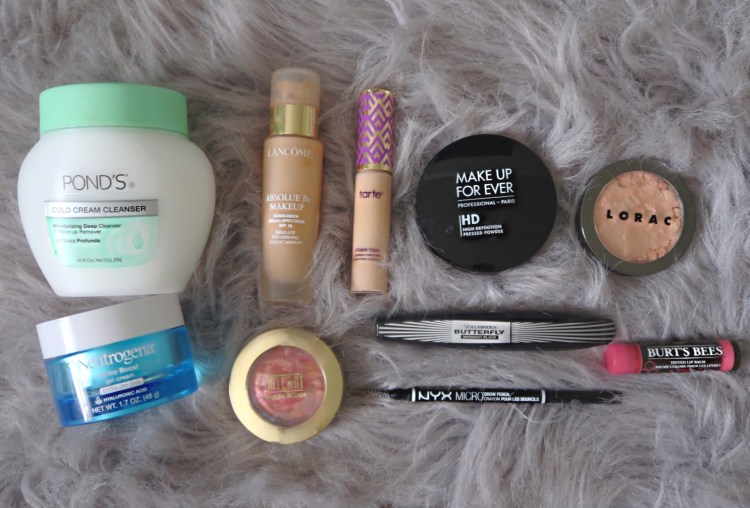
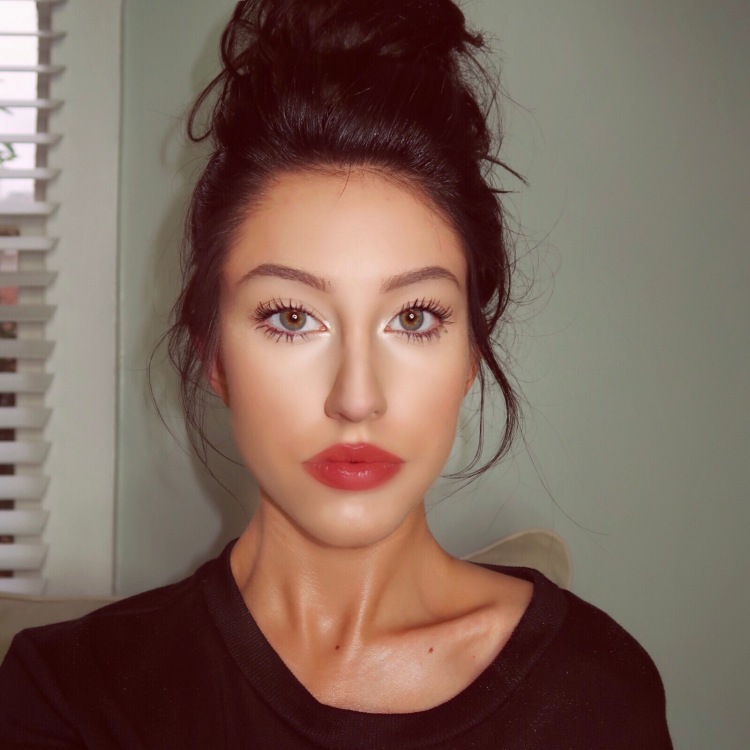
I am loving the healthy, glowing, natural skin look lately. Of course dramatic makeup is beautiful, but the average person who is going to work or school can’t achieve that type of makeup look. It involves too many products, takes too long, and it’s difficult. The steps and tips below will teach you how to achieve my go-to daily routine for a natural, beautiful look. It involves 10 products, all of which are simple and affordable. It is what works for me and it’s what I recommend, but you can skip any of these steps that you are not comfortable with. 🙂
|| Step 1 ||
SKINCARE
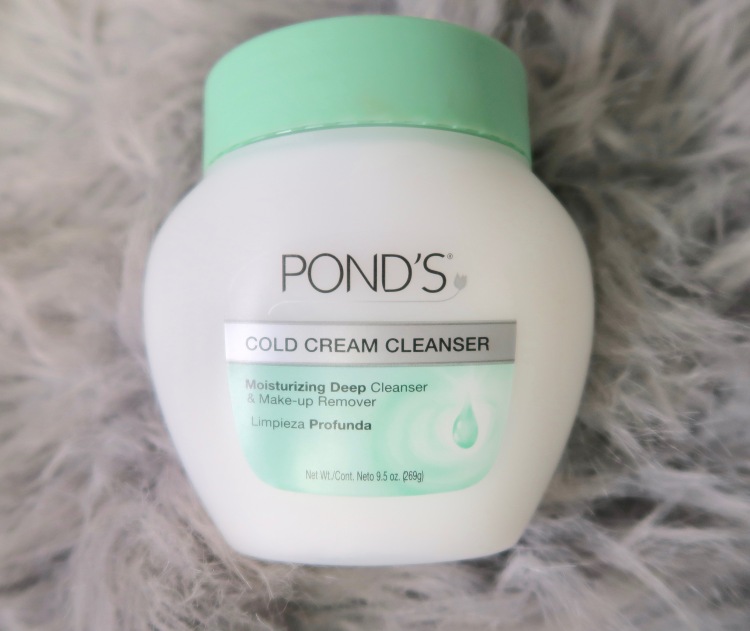
Makeup looks so much better when the canvas is clean and clear! Purchase a good cleanser. That is truly the first step to great skin! I love the Pond’s Cold Cream Cleanser. It feels so good to my sensitive skin and it doesn’t break me out. I just love how gentle it is. For healthy & glowing skin, I recommend cleansing twice a day. Once in the morning, to remove any dirt or oils from the night before. Plus I find it very refreshing to wash face my face first thing every morning. It helps to wake me up. Wash your face at night before bed. ALWAYS. Skipping one night can cause breakouts! It can cause a variety of problems such as eye irritations, infections, wrinkles, and much more. Just don’t do it.
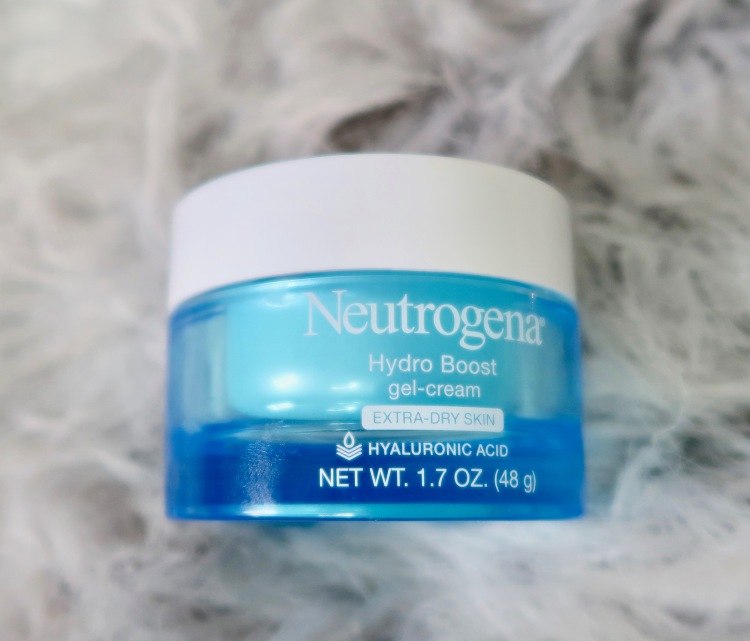
I seriously can’t stress this step enough! MOISTURIZE! It is so simple, but for some reason it is the one skincare step that is skipped the most. Since I have oily skin, I used to completely skip this step because I thought it would make my problem worse. Wrong! First of all, there is a moisturizer out there for every skin type. If your skin is oily, look for gel moisturizers that are oil-free. If your skin is dry, look for cream moisturizers. Second of all, if you skip this step, you’re going to get wrinkles way faster. Dehydrated skin is your worst enemy, trust me. This step is the key to GLOW! You can moisturize twice a day, but I like to use a good moisturizer before bed and skip applying it in the morning. (My pond’s cleanser is pretty moisturizing, so I can get away with skipping morning moisturizer.) I love the Neutrogena Hydro Boost gel-cream. It hydrates and plumps my skin, leaving it healthy and glowing. It doesn’t make my skin oily or sticky at all!
|| STEP 2 ||
FOUNDATION
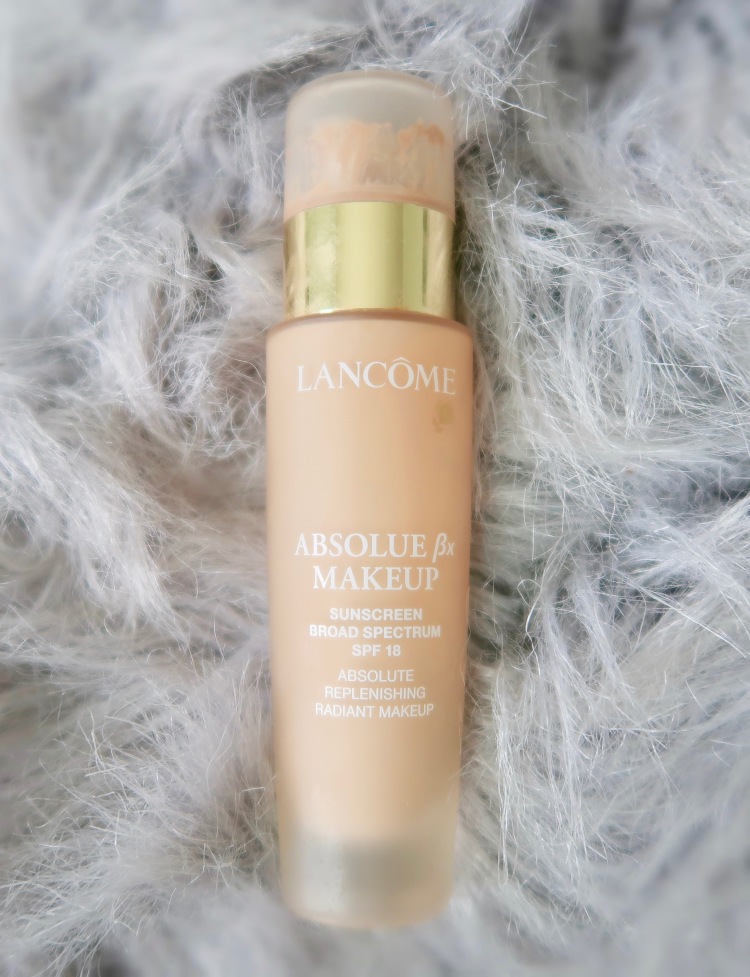
Go light on your foundation. Less is more when it comes to a healthy natural glow. You don’t want to use anything full coverage and you don’t want to use a matte finish foundation. Something sheer and radiant like the Lancome foundation pictured above works perfect for achieving a healthy complexion! You can even use a BB cream or a tinted moisturizer.
|| STEP 3 ||
CONCEALER
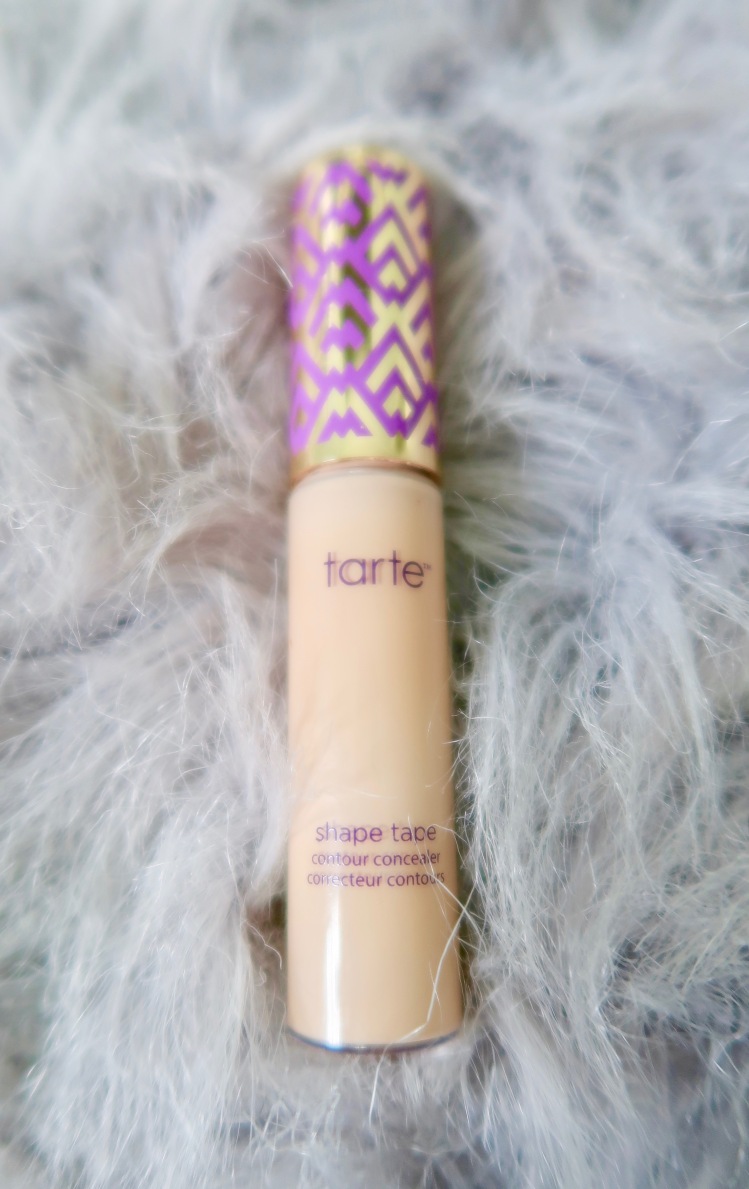
If you don’t want to apply foundation, that’s totally fine. You can apply concealer to your T-zone (forehead, bridge of nose, under eyes, and chin) and you can cover any blemishes. This will give you a little coverage without it looking or feeling heavy. Tarte shape tape concealer is honestly the only way to go. I don’t know if I could go a single day without this gem!
|| STEP 4 ||
POWDER
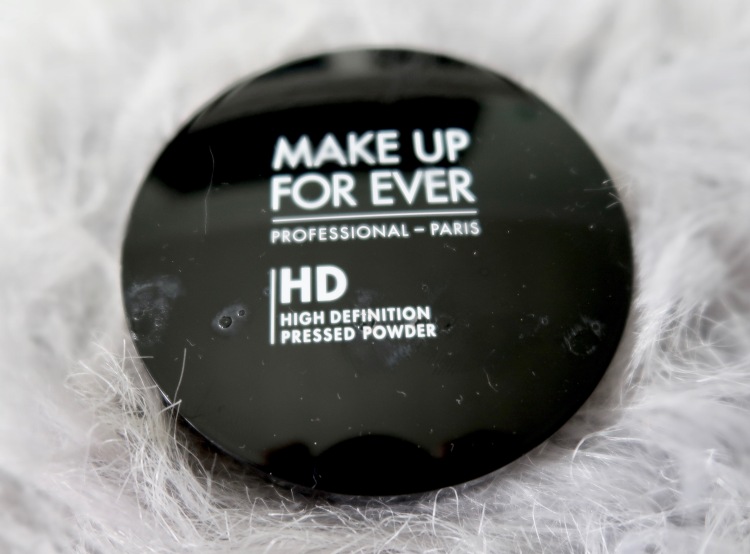
If your skin isn’t oily, you can skip powder. I can’t get away with skipping this step unfortunately. I just dust this onto my t-zone area to set my foundation and minimize shine. It really helps to make my pores look smaller.
|| STEP 5 ||
BLUSH
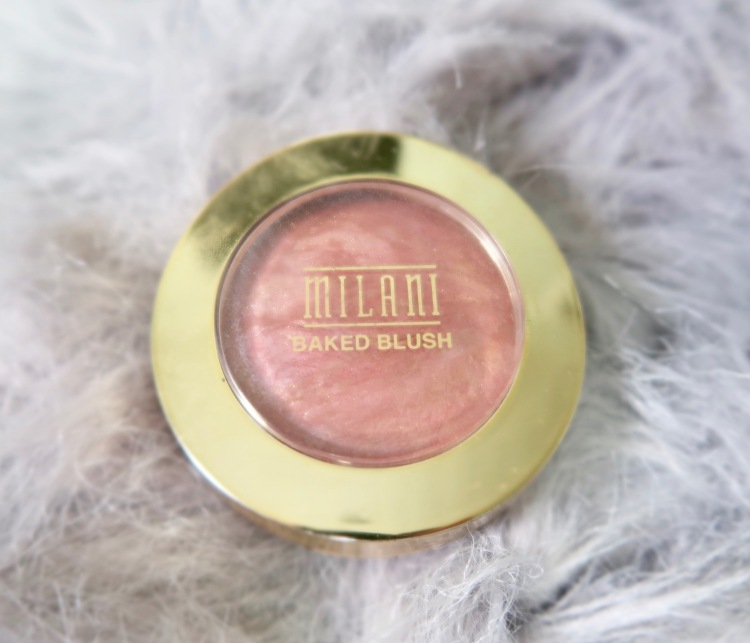
Blush can be applied to bare skin and it will instantly give you a beautiful glow. If I had to choose one product for the rest of my life, it would probably be blush. The Milani Berry Amore blush is seriously the most beautiful blush I’ve ever owned! My skin looks so healthy when I wear this blush. Try to find blushes that are a naturally pink flushed color, those will look more natural on your skin.
|| STEP 6 ||
HIGHLIGHTER
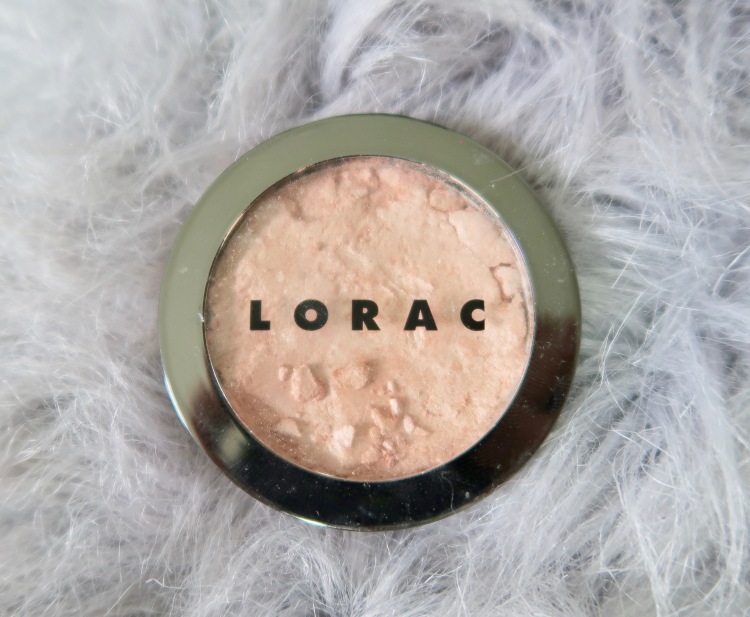
If you’re looking for that extra glow, apply highlighter to the tops of your cheekbones and the inner corners of your eyes. It will make you look awake and it gives the skin a healthy glow! I really love the Lorac Daylight Illuminating Highlighter.
|| STEP 7 ||
MASCARA
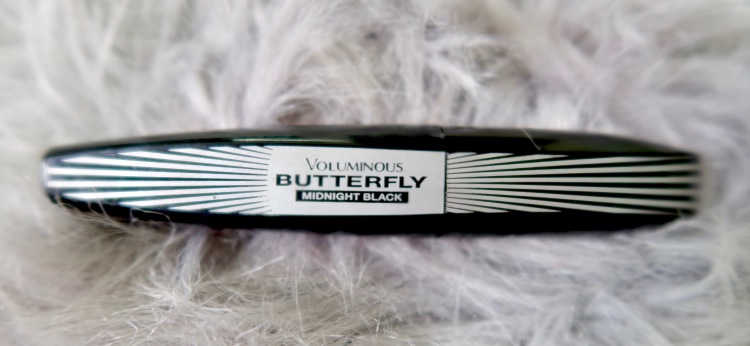
When going for that natural look, you’ll want to keep the eyes simple. Applying a little bit of mascara looks natural and it helps to open up your eyes to bring attention to them. Not too much attention though. Applying mascara only is the perfect way to fake the no makeup look! I have been loving the mascara above. It lengthens and volumizes my lashes.
|| STEP 8 ||
BROWS
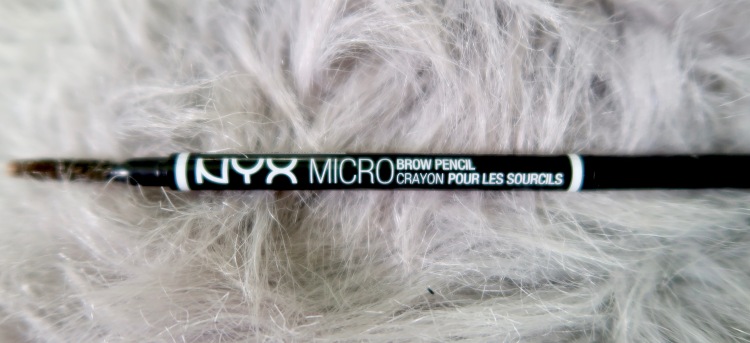
I love natural brows. So if you have naturally beautiful brows, don’t touch them. There’s no better way to rock the natural look than to leave your brows bare. You can simply apply a brow gel and go, or if you want to give your brows a little more shape and definition you can fill them in with a brow pencil. Try not to go overboard. Aim for a color that is no more than one shade darker than your own. The NYX micro brow pencil is a great option.
|| STEP 9 ||
LIPS
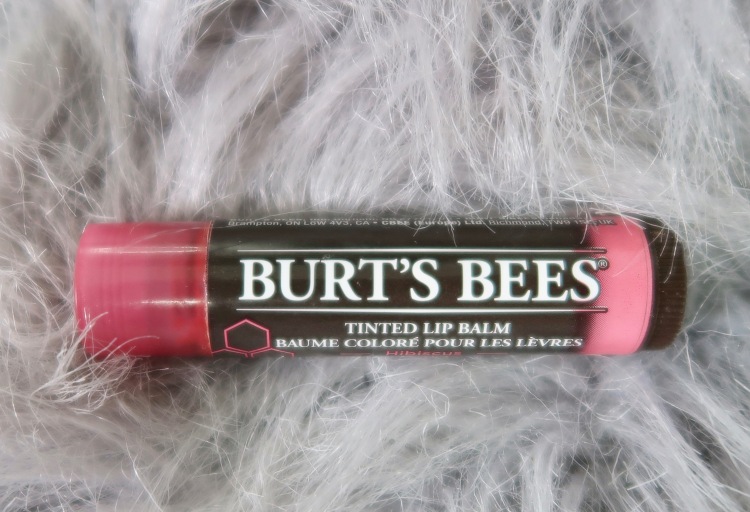
Lipstick is too much for a natural, glowy makeup look. You need something moisturizing with a bit of a tint. I am obsessed with Burt’s Bees tinted lip balm in the color Hibiscus. It is barely a shade darker than my lips. It brings everything together beautifully.
SHOP THE PRODUCTS HERE:
POND’S Cold Cream Cleanser • $5.29
Neutrogena Hydro Boost Water Gel • $19.99
Lancome Absolue Bx Makeup Absolute Replenishing Radiant Makeup SPF 18 Sunscreen/1 oz. • $68
Tarte Double Duty Beauty Shape Tape Contour Concealer • $24
MAKE UP FOR EVER HD Pressed Powder • $36
Milani Baked Powder Blush • $8.29
Lorac ‘Light Source’ Illuminating Highlighter – Daylight • $22
L’Oreal Paris Voluminous Butterfly Mascara Midnight Black 872 • $8.99

Omg love this girl😍🙌🏼
https://mobile.twitter.com/AlexAsh96
LikeLike